From IoT Hub to SMS
iot-hub azure-functions twilio
December 4, 2017
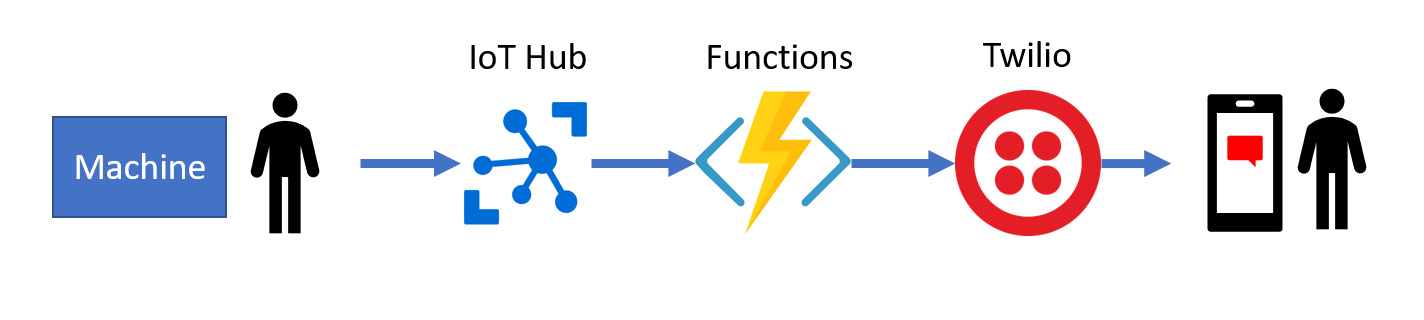
Let's imagine you're a manufacturer, running hundreds of machines in your factory. Each of those machines has three buttons attached to it. Pressing any of them sends a message to Azure which then makes sure that if the button means "alert, something is wrong!" a responsible operator/serviceman/manager gets a text message to their phone.
Architecture
To achieve this, we are going to combine Azure IoT Hub, Azure Functions and Twilio. All of them are nicely integrated, so it's very easy to get all the way from machine to SMS message.
In this article:
- Register for Twilio
- Set up Azure Function
- Get routing information from Azure Table
- Twilio output for Azure Functions
- The Code!
- Test: Send message to IoT Hub
Register for Twilio
We will start from the end and set up an account with Twilio to programmaticaly send text (SMS) messages. I chose Twilio because of its integration with Microsoft Azure and reasonable pricing.
-
Register a new Twilio account.
-
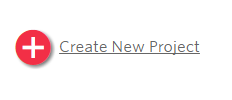
Create new Project.
-
Verify your phone number (required for testing).
-
Go to Manage Numbers and click Get a number now.
-
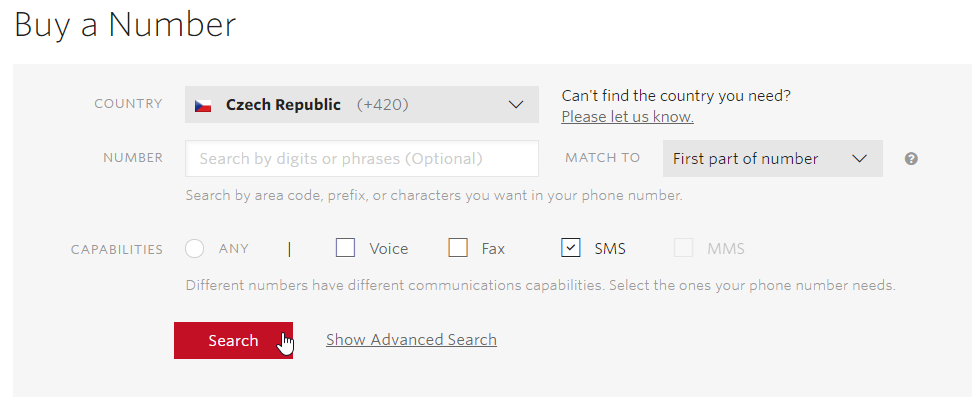
Click Buy a Number.
-
Select your country (such as Czech Republic or United States for testing) and make sure you check the SMS capability.
-
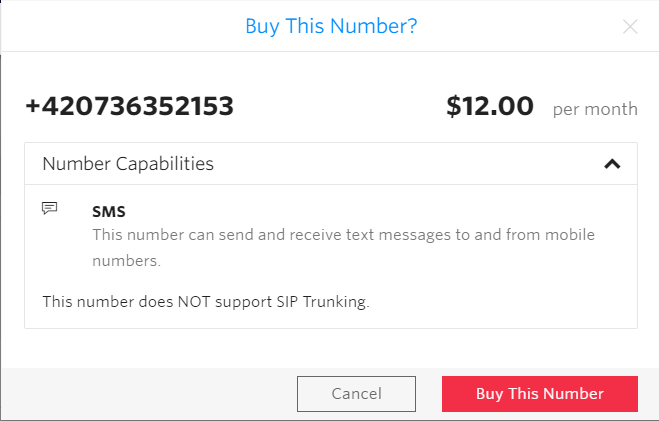
Choose a number you like and click Buy.
-
Confirm that you want to buy this number by clicking Buy This Number.
Important note: If you want to try Twilio in trial mode without upgrading your account, you need to select a number from United States.
If everything goes fine, you now should have a number for Programmable SMS service.
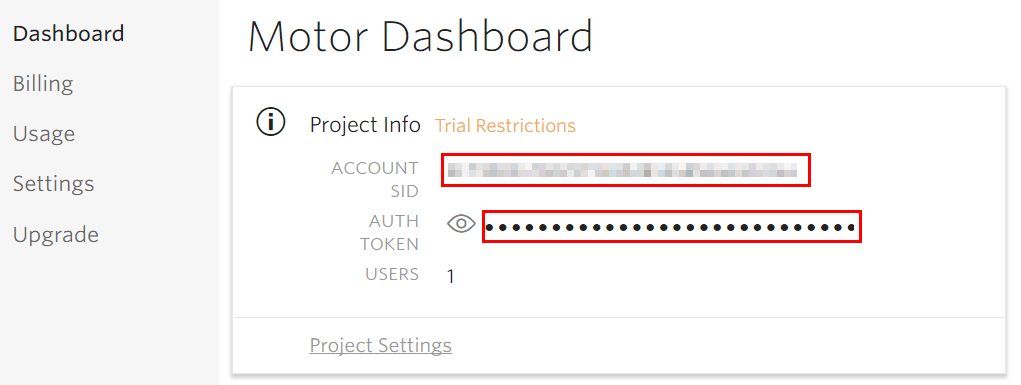
- Return to Twilio dashboard.
- Copy the Account SID value and save it somewhere (notepad is a good candidate :) ).
- Copy the Auth Token value and save it somewhere.
Set up Azure Function
We will use Azure Functions to process messages from the IoT Hub's events endpoint. Functions are great as the integration poin between services - they can take IoT Hub message as input and Twilio as output.
-
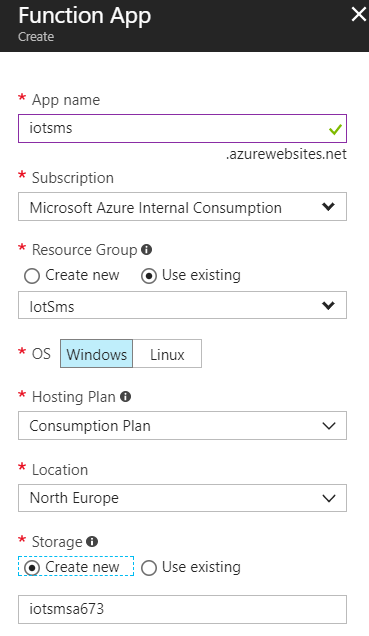
Go to Azure Portal and create new Function App.
-
Pick a name, Resource Group and select the Consumption plan.
-
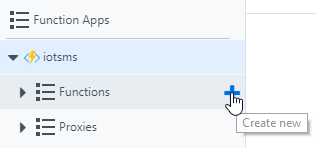
Once created, open your new Function App and add a new function (using the "+" button next to Functions).
-
Select Custom function at the bottom of the screen.
-
Select EventHubTrigger - C# template.
-
Call it however you like.
-
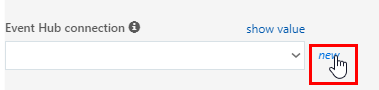
Create new Event Hub connection and select your IoT Hub.
-
Select the right IoT Hub and keep the default endpoint (Events).

-
Click Select.
-
Fill the Event Hub name field with the name of IoT Hub (machinehub in my case).
-
Click Create.
Azure will now generate a C# Azure Function, which will be run every time a new message arrives to the IoT Hub.
For more complex scenarios you can implement routing logic directly in IoT Hub and choose a different endpoint when connecting from Azure Function.
Get routing information from Storage Table
In our scenario we want to send text message to a phone number associated to specific machine (it can be specialized technician, shift lead or someone else). For simplicity, we'll get the machine-person routing information from Azure Table.
Data structure will be a simple mapping: machineId -> personId. For this sample, the table will also have a third column: phone number. In practice you would probably use a database or Active Directory to get actual contact information. And also implement groups... And timing... And etc.
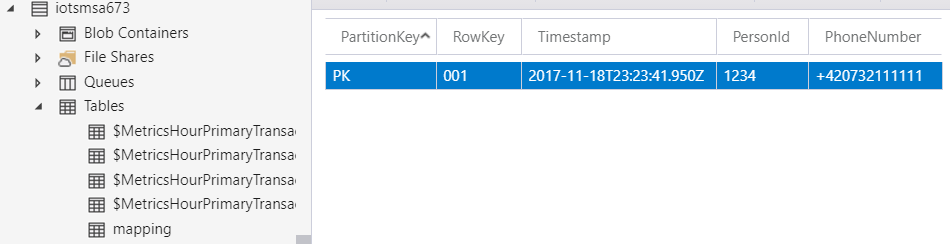
| PartitionKey | RowKey (=MachineId) | PersonId | PhoneNumber |
|---|---|---|---|
| PK | 001 | 1234 | +420732111111 |
PartitionKey should be a value which changes evenly and allows for efficient data partitioning. In our case I would choose factory ID so that each facility has its own partition with machines. The granularity can be different case by case of course.
In this specific sample, PartitionKey will always have the value of "PK".
-
Download and install Azure Storage Explorer, sign in with your Azure account.
-
Open Storage Account created for the Function App (it will probably be called something almost cryptic, such as iotsmsa673). You can find the Storage Account in the resource group where your Function App was placed.
-
Go to Tables and create a new Table.
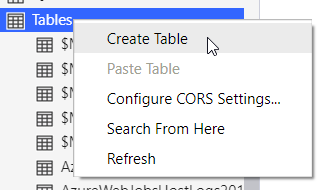
-
Call it for example mapping.
-
Add a testing row with your phone number.
Now return to the Function App you created earlier in Azure Portal.
-
Go to Integrate.
-
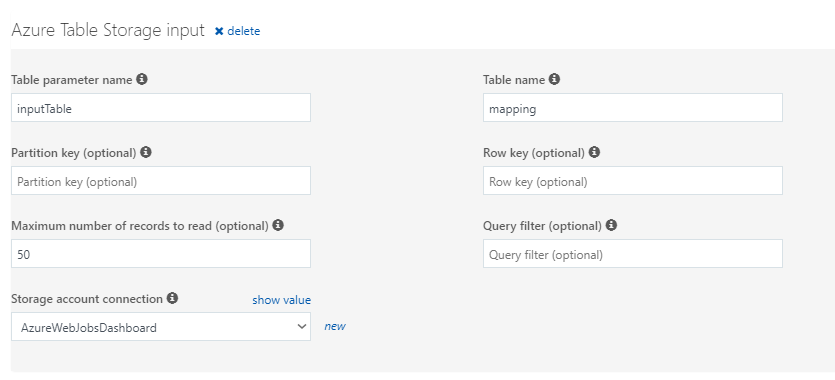
Add new input.
-
Choose Azure Table Storage.
-
Change Table Name to mapping.
-
Select AzureWebJobsDashboard as the Storage account connection.
-
Leave everything else intact.
-
Click Save.
Twilio output for Azure Functions
Twilio output connector for Azure Functions makes sending text messages from the cloud very easy.
-
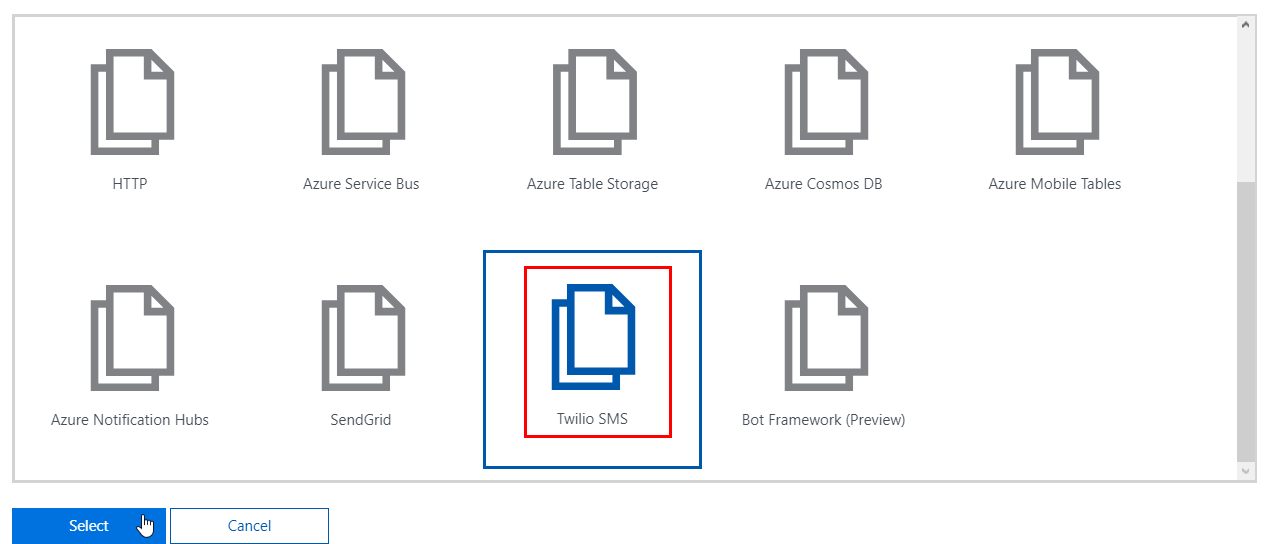
Go to the Integrate tab of your Azure Function again.
-
Add New Output.
-
Select Twilio SMS.
-
Don't change anything and click Save.

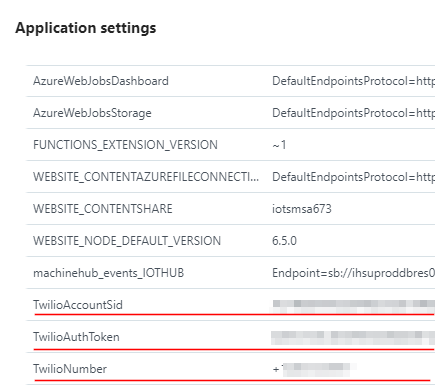
Azure Functions authenticate with your Twilio account using two application settings:
TwilioAccountSidTwilioAuthToken
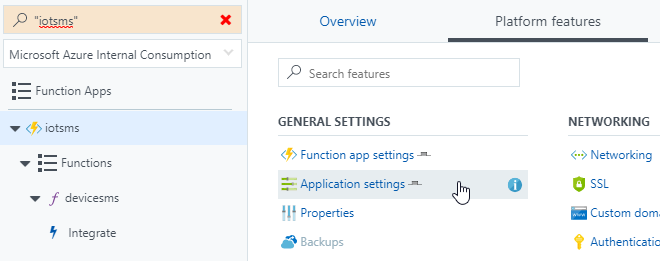
To set them up, go to the root of your Azure Function, click Platform features and Application settings.
Add two keys and their respective values to the Application settings section (you saved them from Twilio earlier, remember?).
Also add one more key: TwilioNumber with the phone number you bought from Twilio (including the + prefix).
The Code!
With everything set up properly, it's time to fill the final gap - the code itself.
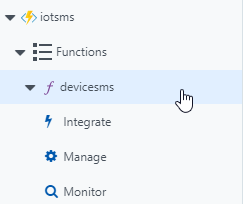
Click your function's name to get to the code editor.
And copy/paste this code:
#r "Microsoft.WindowsAzure.Storage"
#r "Newtonsoft.Json"
#r "Twilio.Api"

using Microsoft.WindowsAzure.Storage.Table;
using Newtonsoft.Json;
using Twilio;

public static void Run(string myEventHubMessage, IQueryable<MappingEntity> inputTable, out SMSMessage message, TraceWriter log)
{
    log.Info($"C# Event Hub trigger function processed a message: {myEventHubMessage}");

    // Parse the message - get device ID
    var eventMessage = JsonConvert.DeserializeObject<EventMessage>(myEventHubMessage);

    // Find phone number in Table
    var res = inputTable.Where(p => p.PartitionKey == "PK" && p.RowKey == eventMessage.MachineId);
    if (res.ToList().Count == 0)
    {
        // no matching phone number found
        log.Info("No matching number found.");
        message = null;
        return;
    }

    var phoneNumber = res.FirstOrDefault().PhoneNumber;
    log.Info(phoneNumber);

    // Compose SMS
    var result = new SMSMessage();
    result.Body = "Hello!";
    result.To = phoneNumber;
    result.From = Environment.GetEnvironmentVariable("TwilioNumber", EnvironmentVariableTarget.Process);

    // Send
    message = result;
}

public class EventMessage
{
    public string MachineId { get; set; }
    public int Button { get; set; }
}

public class MappingEntity : TableEntity
{
    public string PersonId { get; set; }
    public string PhoneNumber { get; set; }
}
Our Function is referencing Twilio libraries (included in the runtime) and creates the SMSMessage object to send text message. Feel free to change the result.Body to any text you like.
Test: Send message to IoT Hub
How to send device-to-cloud message has been well documented in Azure Docs. For our case, each message should contain information about which button was pressed (1, 2 or 3) and which machine was affected.
In my sample, I used console app from this sample repo with this code:
// Creating DeviceClient from IoT Hub C# SDK
_deviceClient = DeviceClient.Create(_iotHubUri, new DeviceAuthenticationWithRegistrySymmetricKey(_deviceId, _deviceKey), TransportType.Mqtt);

// Building the JSON message with information we need
var telemetryDataPoint = new
{
    deviceId = _deviceId, // from IoT Hub
    machineId = _machineId, // identifier of the machine
    button = _button // identifier of the button pressed (such as 1, 2, 3...)
};
var messageString = JsonConvert.SerializeObject(telemetryDataPoint);
var message = new Message(Encoding.ASCII.GetBytes(messageString));

// Sending the message
await _deviceClient.SendEventAsync(message);
Note: We actually don't use the button number in this sample, but you could easily implement more complex routing logic depending on which number was pressed.
In a few seconds, the SMS message should arrive to the phone.
Summary
And that's it. Azure Functions simplified the tedious work of integration and handled connection to IoT Hub, Table Storage and Twilio for us. Once set up properly, the only thing you have to focus on is the code and what happens with the IoT message.
Feedback
Found something inaccurate or plain wrong? Was this content helpful to you? Let me know!
📧 codez@deedx.cz